Connecting to the Pi using the OSX Finder

Connecting to the Raspberry Pi using OSX integration functionality.

After some browsing around I found out there are 2 great ways to connect to the Pi just using the finder in OSX.

The first one is by connecting to the Pi via the network.  This is how you do it.

First connect to the Pi via ssh.

All you have to do is install this package :

sudo apt-get install netatalk

Once it’s finished, just go to the finder in OSX.

Under the network you should be seeing the raspberry Pi (excuse the dutch screenshot). There will be a button below the computer icon saying “connect as”.  Just click it and provide the default credentials of the Pi : pi / raspberry.

You can see your home directory and are able to drag files in and out.

Schermafbeelding 2017-01-06 om 23.12.19.png

The second is using the screen sharing functionality in OSX to connect to the Pi instead of VNC.

Just go to the finder and go to the “Go” menu, and “Connect to server”, or press command-k on the keyboard.  A screenshot like the one below appears (excuse the dutch).

Schermafbeelding 2017-01-06 om 23.15.46.png

Just type

vnc://<the ip address of your pi>:5901

and press connect.

And there you have it :

Schermafbeelding 2017-01-06 om 23.18.08.png


Getting wifi to work

Connecting to a wifi network on your Raspberry Pi.

One more thing before I disconnect the screen, network cable and mouse.  Getting the wifi to work.  That’s very important in order to get a good working mirror. We don’t want to have more cables hanging around than necessary.

It’s really easy.  In the graphical interface go to the top right corner, and click the wifi symbol.

Schermafbeelding 2017-01-06 om 21.21.42.png

Choose the network you like and authenticate.  Rasbian should remember the password by default.

I will now go ahead and disconnect the cable.  The result might be that your Pi gets a different IP address.  That’s normal.  Just look it up by typing

ping raspberrypi.local

Try and connect by using ssh and vnc.  That should work.  Shutdown the Pi by typing

sudo shutdown

It will take a while to shutdown safely.  After doing so, just take out all of the cables, and pull out the power cable, and put it back in.


Connecting to your Pi through VNC

Make a VNC connection to the Raspberry Pi.

The next thing I want to do is connect to the Raspberry Pi using VNC.  VNC is a remote desktop tool that lets you see the screen of a remote computer on your own screen.

Since the latest version of Raspbian it is included.  All you have to do is go the the Raspberry Pi Configuration under the Menu > Preferences option.  In the tab “Interfaces”, there should be a “VNC” option.  Make sure it is enabled.

If you’re unlucky, like me in this case, this option will be disable for some reason.  I’ve been googling this issue, but can’t seem to find a reasonable solution.

So instead, I will do it the hard way, and show you how.

The first thing to do is install a package called “tightvncserver”.  You can do that by connecting to the Pi via ssh and typing the command

sudo apt-get install tightvncserver

After installation, start the VNC server using the following command :

vncserver :1

Mind the “space” between the r and the 1.  It’s important.

You’ll be prompted to give a password.  The catch is: it’s only 8 characters.  So I chose “raspberr”.

Schermafbeelding 2017-01-06 om 20.58.37.png

You’ll have to reboot the Pi afterwards.

On my mac I downloaded VNC viewer for Raspberry Pi.  You can find it here.

Configure your connection like this :

The connection is made through the IP address followed by the :1 suffix.  Just like the suffix you started your vnc server with.

Schermafbeelding 2017-01-06 om 21.05.32.png

That should work like a charm!

Now to make sure that the VNC server is started every time the Pi boots.

That’s somewhat more difficult.

Connect to the Pi using ssh.  Change directory to the “.config” folder.

cd .config

Note that the name of the folder starts with a dot (.).  That means that it’s a hidden folder.  By default you won’t be able to see it using the “ls” command.  If it doesn’t already exist, create a directory called “autostart”, and go to it

mkdir autostart
cd autostart

Next we have to create a new file called “tightvnc.desktop”.  Do that by typing

nano tightvnc.desktop

Nano is a text editor.  By starting it this way, it will automatically create the file “tightvnc.desktop”.

Type in the following exactly :

[Desktop Entry]
Type=Application
Name=TightVNC
Exec=vncserver :1
StartupNotify=false

Get out of nano by typing ctrl-x and typing “y” and press enter to save.

That’s it. Reboot the py:

sudo reboot

After rebooting, try and connect again using VNC viewer.  That should work perfectly.


Getting your Raspbian distribution to the latest version

Getting the software on the Raspberry Pi up to date.

The first thing we’ll be doing is getting our version of Raspbian to the latest version.  This installation of Raspbian is called NOOBS.  It contains a vast number of pre-installed packages.  If by any change some of the steps in later posts don’t work, it may be because some packages are not installed.  You’ll need to install them using the apt tool in order to make them work.  However, right now, we can’t be sure that the version that was shipped on the SD card was the most recent one.

There’s an easy way to do that.  Connect to the Pi using “ssh”.  You can learn how to do that in this blog post.

Once connected type

sudo apt-get update

Things brings all the packages in your linux distribution to the latest version.  It uses the “apt-get” tool for that with the “update” command line argument.  Prefix with “sudo” to execute it with super user credentials.

After completion, type the following command.

sudo apt-get upgrade

This upgrades to the latest version.

Make sure your Pi doesn’t reboot or doesn’t lose internet connection for that.

This will take some time.  A lot of time.  Be patient.  It’s worth it.

After it’s all done, reboot the pi.  This can be done using the command

sudo reboot

Your ssh connection will automatically lose its connection, and you will see your Pi rebooting.


Connecting to the Pi

My first steps connecting to the Raspberry Pi.

In the package I bought, there was an SD card included containing the Raspbian operating system.  This is a linux distribution especially created for the Raspberry Pi.  It already contains quite some applications in a graphic user interface.

The fact that it comes with the package is handy, but for those who don’t have that privilege, there are some great tutorials out there that explain how to format any micro SD card and install Raspbian on it.  It’s really straight forward, so it shouldn’t pose any problems.

The first thing we’ll be doing is configuring “ssh”.  “ssh” is short for “secure shell”.  A tool that lets you connect to the terminal of another computer remotely.

In order to do so, we need to make sure, the Raspberry Pi is correctly configured to accept such “ssh” connections.

While you’re logged into the user interface of your Pi, go to the menu in the top left corner, choose Preferences, and choose “Raspberry Pi Configuration”.

In the dialog that follows, make sure the “SSH” interface is enabled in the “Interfaces” tab.

If you own a windows computer, connecting to the Pi can be done using a tool called “putty”.  You can find it here.

I happened to own a mac, and with mac you can do it simply via the terminal.  And that’s what I will do.

Open a terminal.

In order to connect to the Pi we need its IP address.  The IP address is the address on the network assigned to a network card through which a computer can be addressed.  By default the Pi is configured to automatically obtain an IP address from your router using a protocol called DHCP (short for Dynamic Host Control Protocol).  In short (very short), your Pi will get a random IP address.  If you’re not into networking, go ahead and search on google for more information on that.

Anyhow.  How to obtain the network address of the Pi.  This is quite simple.  By default the Pi is given a name through which it can be pinged on the network : “raspberry.local”.  In order to get the IP address just type the following command in the terminal :

ping raspberry.local

If all is well, you should be seeing some output like this.  However, the output will keep on coming.  Press ctrl-c to stop the output.

Schermafbeelding 2017-01-06 om 20.26.24.png

“ping” is a tool to check if a network card can be found on the network.  You can see some stats, but most importantly, you can see the network address.  It’s 192.168.0.164.

Armed with this knowledge, we can start the “ssh” tool using the following command :

ssh pi@192.168.0.164

the “pi@” prefix of the IP address denotes the user (“pi”) that’s used to connect.  After pressing enter, the “ssh” tool will prompt you for a password.  The default is “raspberry”.  Mind the lower case.

That should do it.  After you log on remotely, the prompt will change to something like this :

Schermafbeelding 2017-01-06 om 20.30.20.png


The unboxing of the Pi

Reviewing the newly arrived Raspberry Pi.

Hurray, a new major milestone has been reached.

Today my new Raspberry Pi arrived.  It arrived in a beautiful box :

15935929_2193646120859694_422191194_n.jpg

The contents :15909691_2193646114193028_2063284592_n.jpg

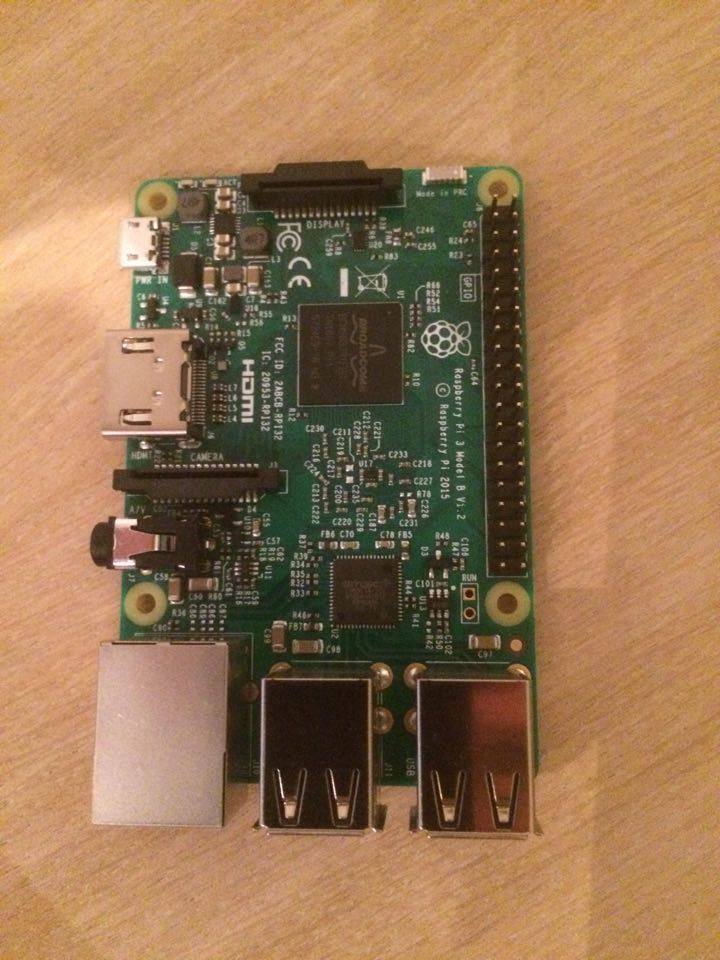
We’ve got the casing, the Pi, the power cable (powered using usb) and Raspbian, the linux operating system pre-installed on an SD Card.  How cool is that.

15934358_2193646130859693_2093219646_n.jpg

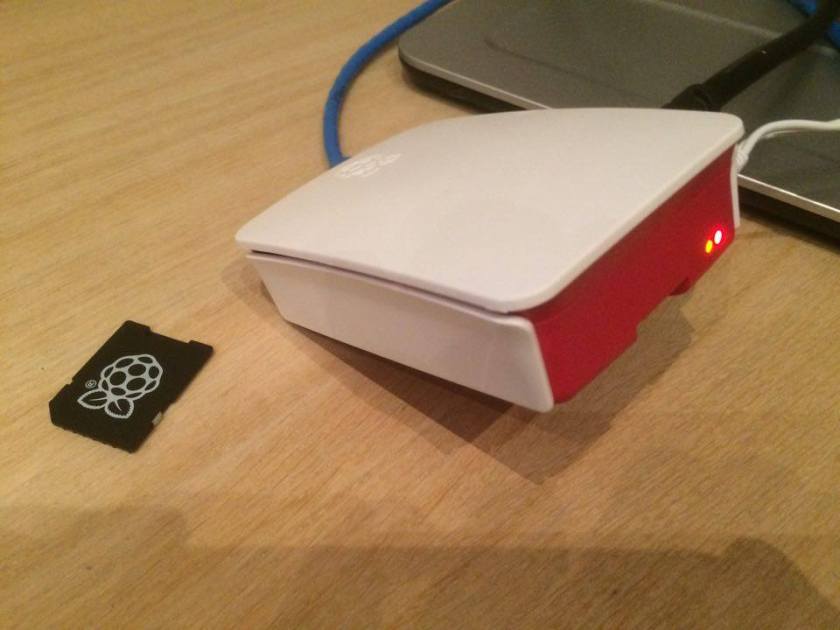
It’s really easy to assemble into the casing.  Here it is :

15935761_2193646147526358_1695918168_n.jpg

Put the card into the casing :

15941821_2193646150859691_2075749329_n.jpg

Hook it up to the screen using a HDMI cable, plug in the network cable, stick a mouse in there and we’re ready to go.  It boots by plugging in the power.

15941970_2193646154193024_765563650_n.jpg

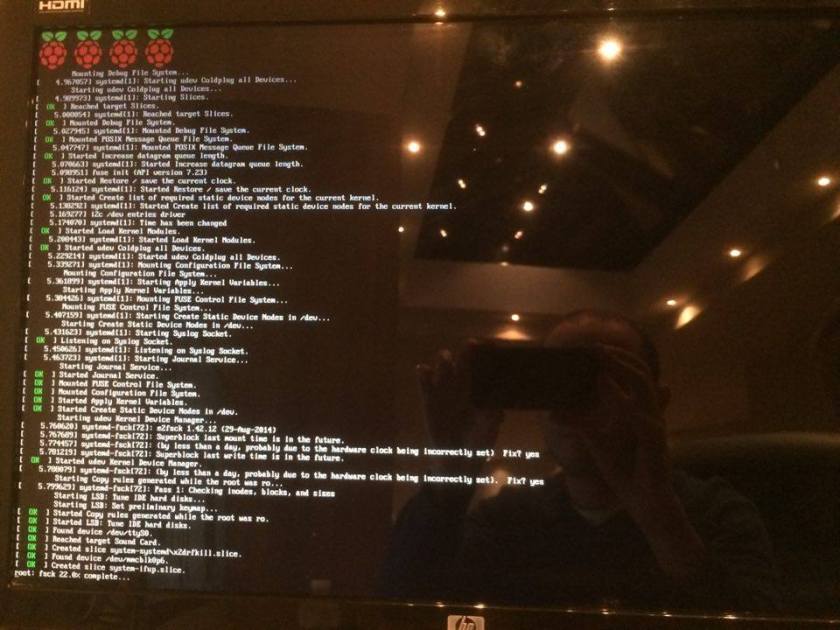
… tah dah.  Here’s the first output on the screen.

15935810_2193646170859689_355532291_n.jpg

This version of Raspbian automatically boots into the graphical user interface.

15910422_2193646174193022_1342291296_n.jpg

We’re all ready for the first configuration!

Voice control

Pondering on how to proceed with voice control on the Smart Mirror project.

So here’s the plan.  I want the mirror to be totally voice controlled.  Kind or SIRI like, but better preferably.

I’ve been looking around.  There appear to be several solutions.  There is an open source library called “Jasper”.  You can find more information here.

It allows talking to your device, and is “always on”.  It can also talk back using a some standard libraries that can be installed on the pi, but as you can see and hear in the video below, the quality of the voice isn’t all that.


It could be an alternative, but I continued my search.

Until I stumbled upon a product called Amazon Echo.  It really cool, totally voice controlled.  It can answer a lot of questions, and unlike siri, it doesn’t answer by sending you a web page, but by saying the result.  Exactly what I want.

Check it out:

The good part : you can access the API using a free toolset called the Alexa Voice Service (AVS).  Alexa is the name of the virtual assistant, like there’s siri or cortana.

You can even extend alexa yourself by adding new “skills”.  I’ve decided to go full on for this solution as it’s free and I already have an amazon developer account.  I’ve used it to publish some android apps to the amazon store before.

Another perk might be that it might one day become available in another language, like Dutch.  That will probably not be the case with alternatives like Jasper.

Here’s another interesting video on it :


The first step

A first step into my project.

All journeys start with a first step.  So does this one, and it’s an essential one.

Yesterday (on Christmas of all days) I bought my Raspberry Pi.  A friend of mine pointed who new about my endeavour pointed me towards a website offering a promotion which included the OS, adapter and a casing all in one at a reasonable price.  So I went for it!

It’s supposed to be delivered 5-1-2017.  So time enough to do some further investigation… and keep my blog up to date of course.

pi-bestelling

Excuse the dutch language, but i’m from Belgium, so you might see some more dutch things passing in screenshots or something.

It’s supposed to be something like this :

kw-1617-684x456

So that’s the first 75 EUR spent in my new hobby.  I will try and keep the budget under wraps because after all… it’s only a hobby.  Next investment will probably be a monitor.

I’ve been looking around already, and nowadays there are some great and cheap monitors out there, like this one.

benq-screen

It’s only 99 EUR.  Not bad for a monitor, but for a hobby project still quite expensive.  I’ve still got a monitor lying around, but it cost more than 400 EUR back at the time, so i’m a bit reluctant to open it up just like that.  Let met think about that one some more !


Time to take off

Start of a journey into technology.

Hi there!

My name is Bart and I want to take you on a journey.   As a new year’s resolution for 2017 I set myself a goal.  I wanted to make my own smart mirror, or as some people tend to call it : a magic mirror.

That’s a mirror you hang somewhere in your house (your bathroom, or some other place), that displays useful information.  If you’ve been googling around for some time you might have stumbled upon some other websites were people show their own DIY projects  with smart or magic mirrors.  So have I … and I think it’s really cool.  So that’s why I want to create my own.

Most of the DIY projects start from the basics provided in the blog of Michael Teeuw.   This guy was way ahead of us, or rather, of me.  When browsing his great blog I found some great inspiration for a magic mirror.  A few days before this blog post he even posted an instagram picture of snowfall in his mirror.  How cool is that.

Anyhow, his original posts were very popular, and following the succes he decided to start a great initiative where he offers the tools and resources to create your very own.  It’s called Magic Mirror ² .    And that’s just what I’ll do.

But i’m going to go a step further.  I don’t want to stop at displaying the time and the weather (though that might be a great starter).  I want the mirror to be responsive.  I want to be able to speak to it, and I want it to talk back.  I want it to take all kind of commands, and I want it to recognize me (or my wife for that matter).  Not only recognize me, but know my needs.  What it has to do if I get up early in the morning to go to work.  What I want to do if I sleep longer on a weekend day.  What I want to do in the evening after dinner.  Stuff like that.  I want it to activate and deactive automatically.  And just about everything that makes it cool.

Now. All of that might be a tall order.  A bit too tall really, but that’s never stopped me.

There are a few hurdles however.  First of which is : I’m really not a handy man.  It will take some fiddling and maybe some help of friends.  Secondly: I have to start from scratch.  And I mean … scratch.  I have nothing related to hardware what so ever.  And third.  I know absolutely nothing about the technology.  Nothing about Raspberry Pi.  Nothing on javascript or CSS, nothing on Python code.  Something about linux, but not enough to be comfortable with.  Though I have a degree in information technology, I haven’t been into these technologies professionally, so it’s all new here.

Call it a challenge.  I can’t wait to show you my progress.  Feel free to get in touch, or follow my blog to know all about smart mirrors, and how I make the mistakes you won’t have to make.